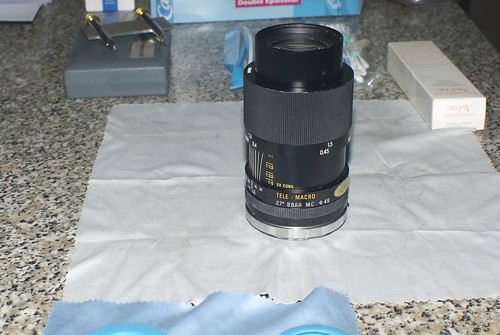
Cleaning haze: Tamron SP90 f/2.5 (52B) ...
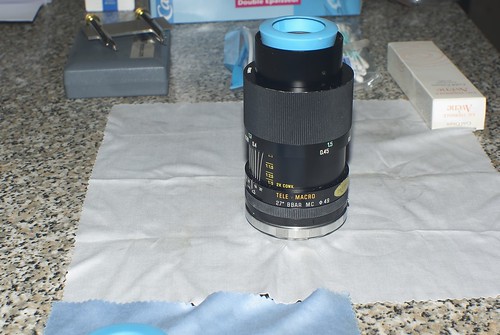
Being a rainy day, i decided to spend some time cleaning a lens of my preferred seller, a Tamron SP90/2.5 Macro (the 52B model, with a 49mm filters thread) ... The lens was affected by some kind of internal haze and some strange internal reflections, which made me almost skeptical about the success of the operation (read why at the end of this post)...
Do you want to know more ? If no, then you can fly away from this page. If yes, then continue reading, but before:
AS USUAL, I CANNOT BE HELD RESPONSIBLE IF YOU DESTROY YOUR LENS DOING WHAT I EXPLAIN HERE. IT WORKED FOR ME, IT DOESN'T MEAN THAT IT WILL WORK FOR YOU. THIS IS A VALUABLE LENS, THUS CONSIDER THE SERVICES OF A PROFESSIONAL REPAIRMAN BEFORE TRYING TO FIX IT ...
So, after the legalese, let's start the game ...
Since the haze seems to be between the first two front elements, start by unscrewing the front ring using a sink cap:
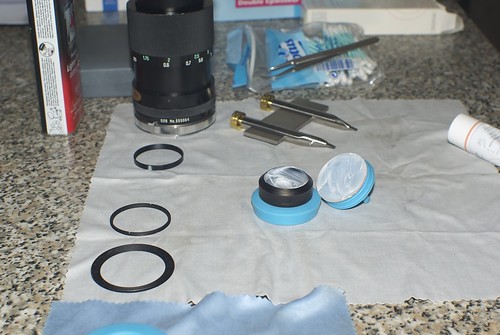
Once the front ring removed, you will notice two concentric rings with notches for a spanner wrench. The ring to remove now is the inner one (if in doubt, check the picture on the Flickr photostream, it has notes on it):

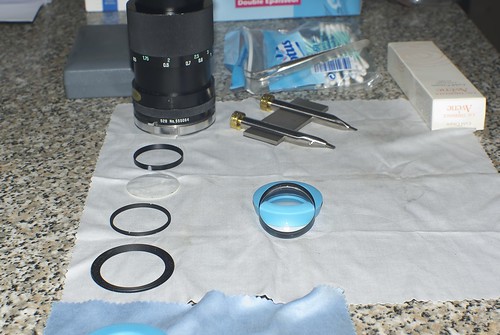
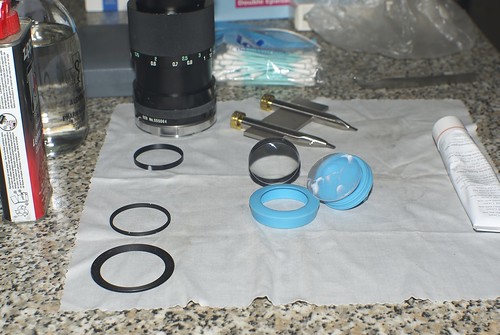
After removing the retaining ring, CAREFULLY turn the lens upside down: the front element, a spacer ring and a cemented element will slip away from the barrel:
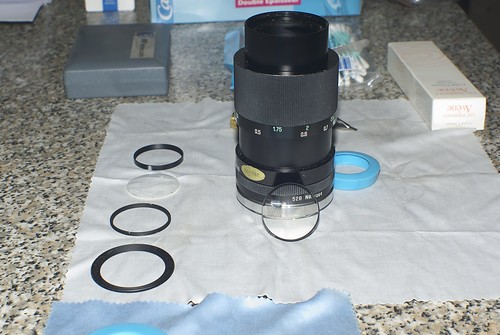
Here an almost missed shot. I should have switched to a macro lens, to show the haze and a nice fingerprint, probably left by the previous repairman who serviced this lens. Instead, i just took a picture of the elements to clean (grin!) ...
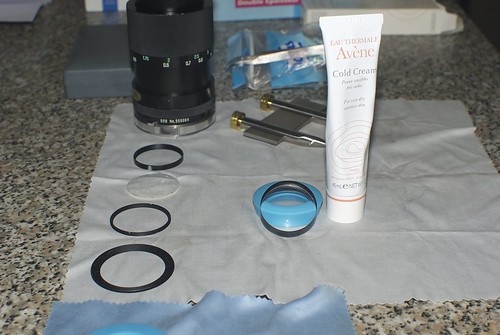
Being my first cleaning from haze, i didn't know how to attack it, so i started with the usual fungus removal tool, some Cold Cream:
Since i had to wait some time, i decided to clean the front element too:
After about half an hour, time to check if the cold cream worked for the haze ... Thus, i removed the dried cream with some Zippo fluid and a q-tip:

Great surprise, the cell was clear, no more haze or fingerprint :-) ... And yes, i know that i should have taken a macro shot here ...
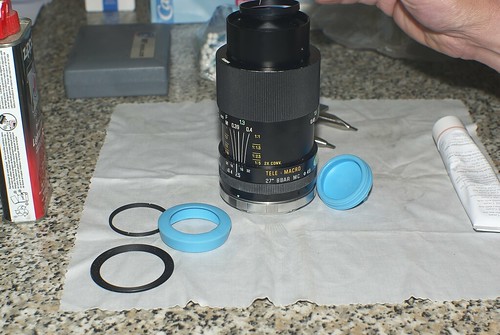
After cleaning the front element, CAREFULLY slip in the cemented cell first and the spacer ring after, using some tweezers for the spacer ring (damn framing):
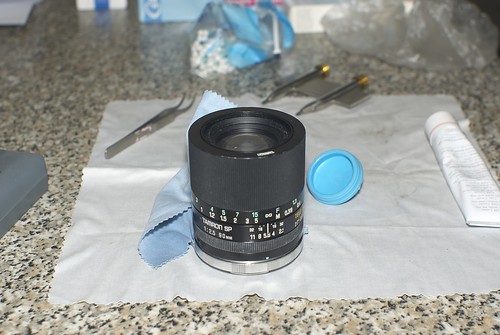
Finally, after about an hour, the lens is ready for some action:
The lens was entrusted to me with a Canon EOS third-party adapter mount. Since i didn't have a spare Pentax-K Adaptall mount for testing, i decided to test the lens on my 5D Mark II ...
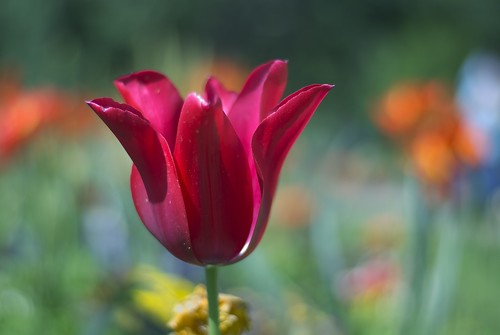
A first shot with the lens wide open, at f/2.5:

Then, another one at f/4:

I didn't rely too much about the success of the cleaning, but the results are worth the effort ...
Footnote for the curious readers: some haze on inner cells of a lens, typically on cemented cells, denotes a beginning of flaws in the cementing glue. Usually, this kind of damage may be easily fixed by a professional repairman, who has to separate the elements, remove the glue, clean the elements, then realign and glue them again. When i first saw the haze, i was thinking about this kind of flaws, which i'm not able to fix for different reasons (notably, lack of specialized hardware). Nevertheless, i warned the owner of the lens about the possible failure of the cleaning ...
Luckily, the haze has revealed to be a kind of surface moisture (because of a previous bad cleaning ?), which has been easily removed by the cold cream. In the case of a cement flaw, all this would have been useless ...
Again, do not hesitate to ask the services of a professional repairman for servicing this kind of valuable lenses, they are really worth the money ...
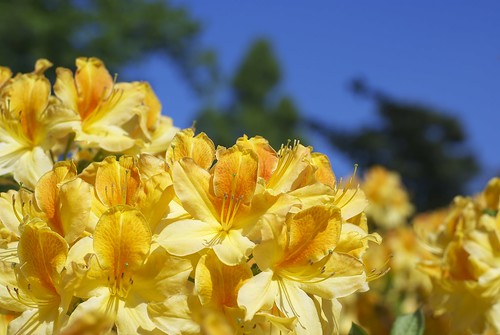
Last minute editing: another sample shot at f/4, during a "field test" at the Jardin des Plantes in Toulouse.
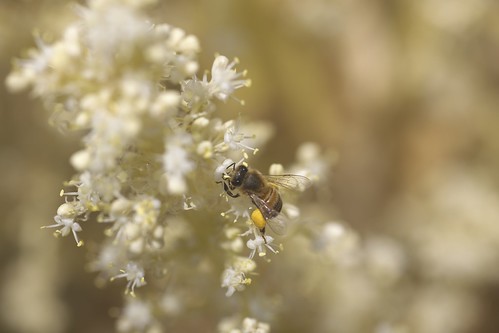
If you want to check the full resolution sample pictures, taken with my 5D MarkII, feel free to browse this set from my Flickr photostream.
Labels: Pentax K10D, Repair, Tamron SP 90 f2.5
posted by IndianaDinos at 12:42 AM
13 Comments
![]()
![]()