free web tracker

Playing around with a stock 18-55 and a Sigma 70-300 ...
Now, with an SMC Takumar 105 and a CZJ Flektogon 35 too ...

Friday, June 24, 2011

M42 Focusing Helical

My quest for photographic accessories has leaded to a nice M42 focusing helical. Since i had some "spare" enlarger lenses available and didn't want to go out with a bellows on my camera, i finally decided to buy one following the advice of Calvin from MFLenses.

The helical i bought is an M42-to-L39 type, with an L39-to-M42 ring on the rear side, so that i'm able to use it on both my DSLRs (and, eventually, on a future rangefinder too). It extends from about 15.5mm up to 29mm. Not too much, but enough for what i was thinking to do first with it (playing with my 50mm enlarger lenses).

Out of the box, the helical and the accompanying L39 adapter look really fine, with a nice black finish. Of course, i tested at first the helical without mounting it on the camera. Although not as smooth as a Takumar lens barrel, the rotation of the helical is fluid across the whole range but it requires a bit more strength to rotate wrt a good Takumar. Not so bad: since i'm planning to use it for macro shots, i like the idea of a focusing barrel that doesn't rotate too easily ...

Then i grabbed my M42-to-EOS adapter (bought from Calvin too, by the way) and my original M42-to-PK ring. The helical has screwed in without any issue, the M42 threads are perfectly matching on both adapters.

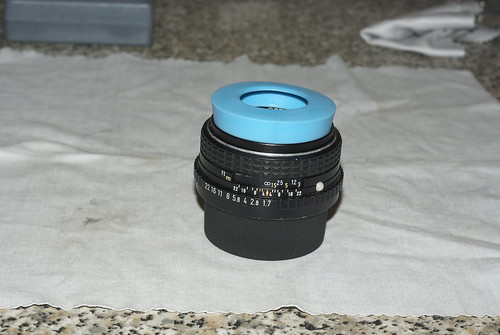
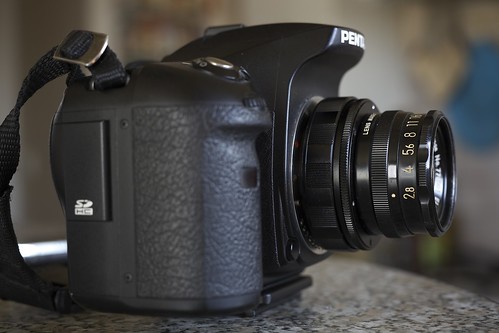
Finally, mounted on the camera, here is how it looks like with an EL-Nikkor 50/2.8:

Focusing Helical - _MG_4752


Focusing Helical - _MG_4753


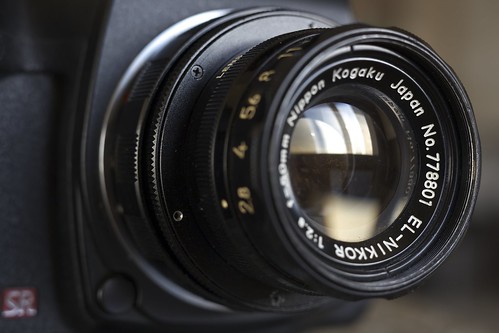
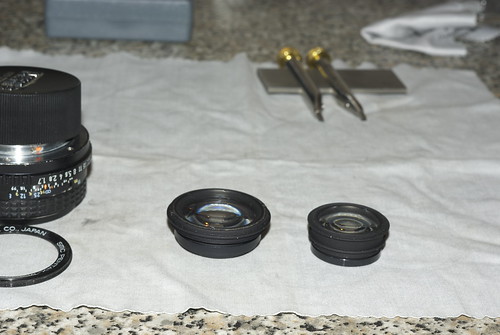
As a free gift i got also an M32-to-M42 adapter ring, which perfectly fitted my Taylor-Hobson Ental 80/4.5. Here you can see how it looks on my EOS 5D Mark II:

Focusing Helical - _IGP5400


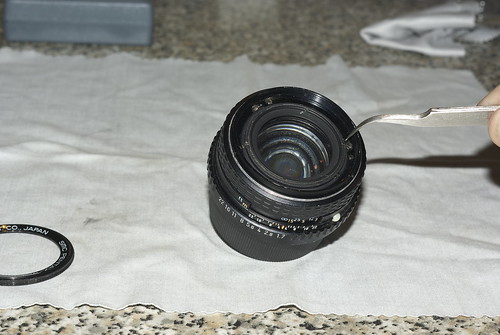
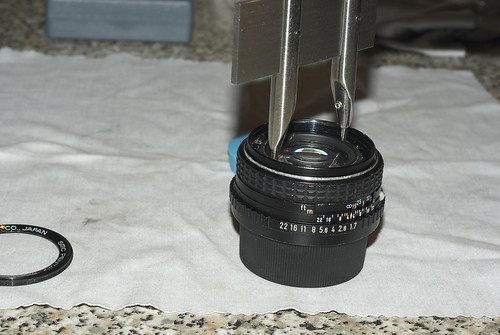
As a side note: as you can see on the picture, the front face of the adapter is held in place by three Phillips screws. Spread across the whole circumference, there are three more holes, too small for screws, whose usage is unknown to me ...

My conclusions: if i was first thinking that this helical was a good piece of mechanics, now i am even more satisfied with it, because i can play with all my enlarger lenses including my T-Hs ;-) ...

The cons: i'm planning to buy the two bigger versions of this helical, too ...

Labels: ,

Wednesday, June 8, 2011

Cleaning from fungus: SMC Pentax-M 50 f/1.7

Going on with the lens rescue series, an SMC Pentax-M 50/1.7, one of the best Pentax lenses, is the new patient.

As you can see here, back-lighted by a LED flashlight, a fungus has widely infected the lens.

01 - _IGP5471


Since the fungus will reveal to have infected all the elements in the lens, a fully elements removal is required. As usual, before going on, the classic legalese disclaimer:

AS USUAL, I CANNOT BE HELD RESPONSIBLE IF YOU DESTROY YOUR LENS DOING WHAT I EXPLAIN HERE. IT WORKED FOR ME, IT DOESN'T MEAN THAT IT WILL WORK FOR YOU. THIS IS A VALUABLE LENS, THUS CONSIDER THE SERVICES OF A PROFESSIONAL REPAIRMAN BEFORE TRYING TO FIX IT ...


What you will need to proceed:
  • A sink cap, to remove the front name ring.
  • A spanner wrench (got mine from MFLenses). You can get yours wherever you want, but avoid cheap ones (less than 50€).
  • Cold cream. I use Avene's one, but simply because it is really cheap in France. Ask to your beauty-shop (or to your wife) what they have available.
  • Zippo fluid or isopropyl alcohol or something similar, to remove the cold cream from the lens.
  • Optical cleaning fluid for the final cleaning of the lens.
  • A microfiber cloth, to clean the lens.
  • A clean workplace and ... some patience ;-) ...

Now, let's start the game ;-) ...

Focus the lens to the infinity first, for easy removal of the rear optical group, then unscrew the front name ring and remove it.

02 - _IGP5490


Notice here the two concentric retaining rings with notches for a spanner wrench exposed.

03 - _IGP5491


Engage the outer one with the spanner wrench and unscrew the whole front optical group.

04 - _IGP5492


Reverse the lens. You will notice here too two concentric retaining rings with notches for a spanner wrench. And here too, engage the outer one with the spanner wrench and unscrew the whole rear optical group.

05 - _IGP5494


Let's start with the front cell. Unscrew the retaining ring of the front element.

06 - _IGP5474


Notice the inner retaining ring exposed. Engage it with the spanner wrench and remove the second element of the front optical group.

07 - _IGP5478


Unscrew the retaining ring of the rearmost element and remove the lens from the rear optical group.

08 - _IGP5495


Now you have separated all the five elements of the lens. Using a Q-tip (or the like), spread some cold cream on the lenses.

09 - _IGP5477


After about an hour, remove the dried cold cream with either Zippo fluid or isopropyl alcohol (i had the last one available).

10 - _IGP5481


Then, clean the lenses with some optical fluid.

11 - _IGP5482


Almost done. Rebuild both the front and the rear optical cells and screw them back in the barrel. Last, screw in the front name ring.

12 - _IGP5483


13 - _IGP5499


Time to enjoy the freshly cleaned SMC Pentax-M 50 f/1.7. A picture of the lens that has been used to take the previous pictures and a portion of the surgical team.

14 - _IGP5502


That's all, folks!

Hoping that this will be useful to someone ...

Labels: ,