Cleaning from fungus: Zuiko Auto-W 35 f/2
Hi all,
Going up with the rescue series, this time is the turn of an Olympus Zuiko Auto-W 35/2, a really nice lens ...
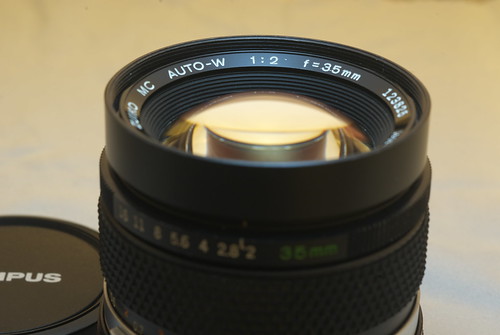
The (now) happy owner of this lens, a co-worker, left this nice piece of glass in my care, to get rid of a small spot of evil fungus that was developing on the elements ...
Before going on with the reading, be aware of this: it worked for me, it doesn't mean that it will work for you. In other words, whether you decide to repair your lens by yourself, or to let a pro do the job, it's up to you:
I assume no responsibility if you destroy your lens.
And now, let's start playing ...
Start by unscrewing the front name ring with a soft rubber cap (i used the multi-sized cap by Wirquin Innovation, but you can use another one, or even a kitchen rubber glove). If the ring doesn't unscrew, a FEW droplets of WD40 may help here ...
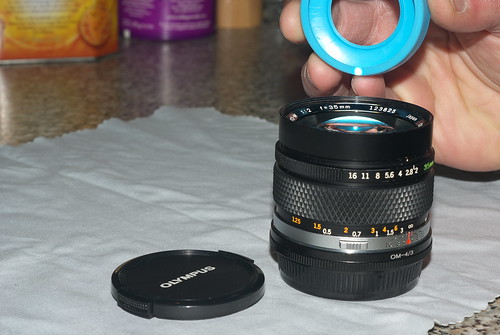
After removing the name ring, notice the two inner metal rings, the first one on the front of the lens, the other almost hidden behind: both have notches for a spanner wrench (at almost 2 o'clock and 8 o'clock, looking at the lens in the picture below) ...
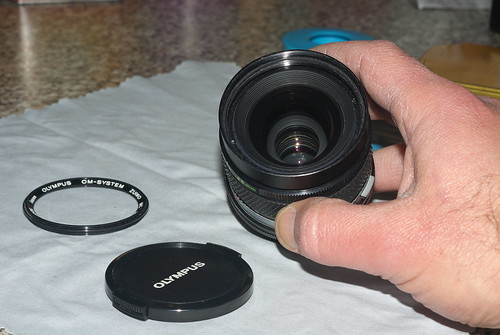
While the inner notches will unscrew the front element retaining ring, the outer notches will unscrew the whole front optical group. That's of interest here ...
Thus, using your preferred spanner wrench (i use one from MFLenses), unscrew the front cell from the lens ...
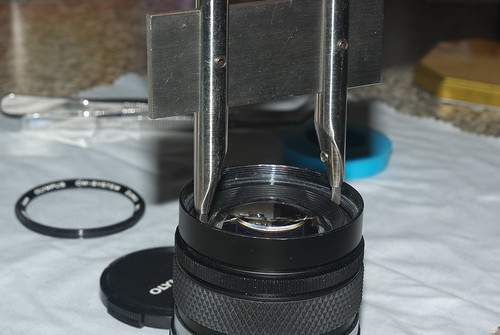
... and the whole front optical group will be easily removed from the lens ...
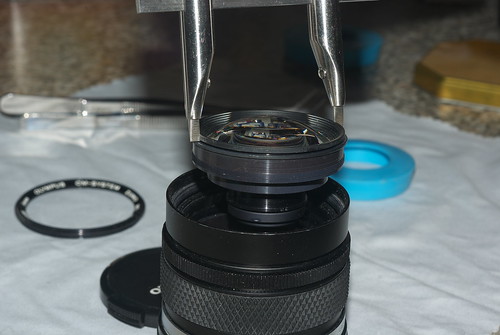
You will notice also that the diaphragm mechanism is fully exposed, too: if it needs some cleaning, now is the time to go ...
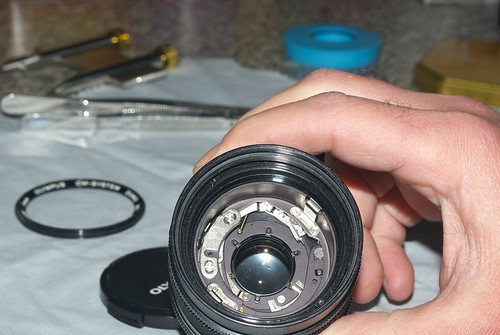
Side note: please forgive the look of my hands, it was really cold and i was outside without gloves ...
Now, using the spanner wrenches again, unscrew the front ring to free the front lens of the optical block ...
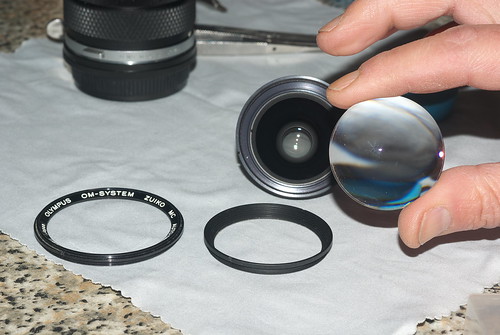
Now starts the fun: Avene's Cold Cream is my preferred fungus hunter ...
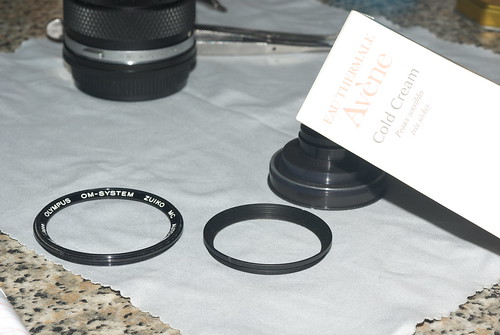
Using a Q-Tip, spread some cream on the lenses to clean. In my case, it was the front lens and the rear lens of the front optical cell that required cleaning ...
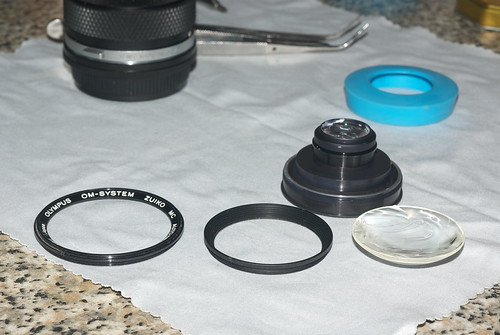
After about half an hour, once the cream has dried, do a first clean of the lenses with some Zippo fluid (almost 100% pure kerosene), then use an optical cleaning fluid to remove the remaining residuals on the lenses ...
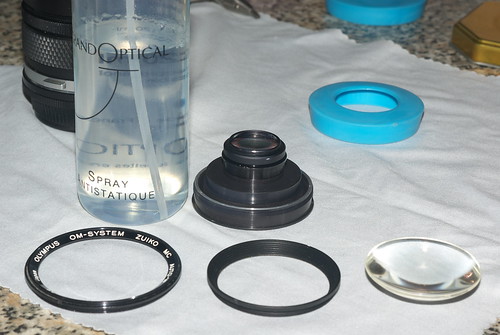
... and enjoy some freshly cleaned lenses ;-) ...
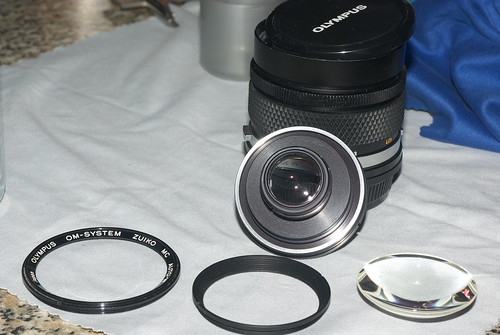
Now, proceeding in the reverse order, sit the front lens on the optical group and screw in the retaining ring, then screw in the whole optical group back in the lens barrel and, finally, screw in the front name ring ...
The Zuiko Auto-W 35/2 is now ready for the next photographic mission ...

Now, i should really get an Olympus-to-EOS adapter ring for testing this lens on my FF camera ...
Credits and acknowledgments
Multi-sized rubber cap: Wirquin Innovation
Spanner wrench: MFLenses
Olympus Zuiko Auto-W 35/2 exploded diagram: Olympus pages on Dementia.org
Pictures taken with my Pentax K10D with an SMC Pentax-M 50/4 Macro and on-camera flash.
Labels: Pentax K10D, Pentax-M 50 f1.4, Repair, Zuiko Auto-W 35 f/2


2 Comments:
Wow, that's a great job you've done!
My compliments.
Hi Elle,
Thanks for spending your time here and commenting ...
Glad to see that someone likes my posts ...
Post a Comment