Fixing the infinite focus on a Super Takumar 24mm ...
A few months ago i bought a Super Takumar 24 f/3.5 in minty conditions for a few bucks. The lens was really clean and i noticed no faults, but, since i hadn't my camera with me, i didn't test it immediately ... Little mistake, because, although it performed really well on close focus subjects, i noticed a lack of infinity focus on landscapes. So, after logging on one of my preferred forums, i asked for some help on fixing this, and got two replies really interesting from glasbak and Just1moreDave, i decided to try my second lens surgery (the first one was on a Carl Zeiss Tessar 50 f/2.8) ...
The intervention succeeded, so, just in case someone other would have a Takumar with the same symptoms, here are the detailed instructions.
But, be warned before you start:
I ASSUME NO RESPONSIBILITY IF YOUR LENS BECOMES USELESS AFTER THAT
The surgical team: a basin cap (possibly brand new), a pair of tweezers, a precision flat screwdriver, some adhesive tape, a clean workbench and ... a camera for testing.
At first, the front name ring must be removed. I used a brand new basin cap, much more cheaper that the dedicated rubber tool. Be sure that the filter thread is clean before proceeding (eventually, you can use a toothpick and/or a droplet of WD40) ...
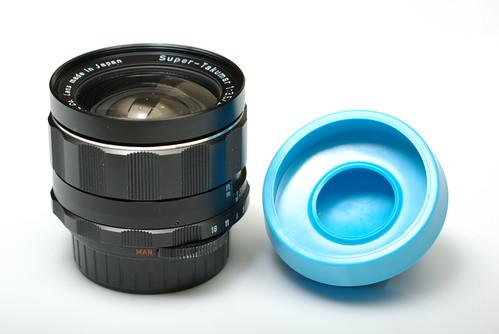
Applying the tool to unscrew the name ring ...
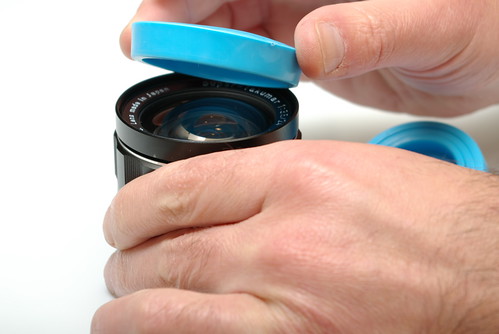
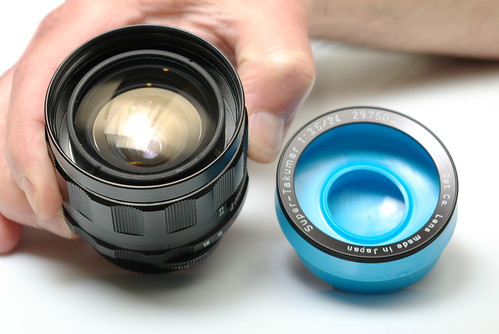
Name ring removed, time to remove the filter ring unscrewing the three screws inside (not shown, i would have needed a ring flash) ...
Putting a mark using adhesive tape, just in case it would be needed later ...
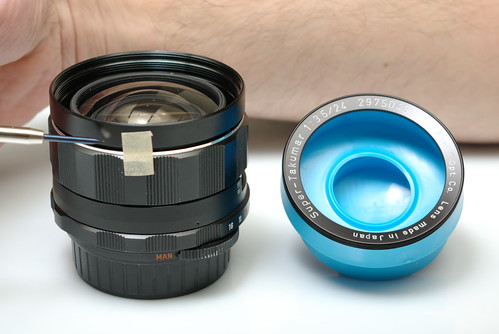
Filter ring removed, now starts the fun ...
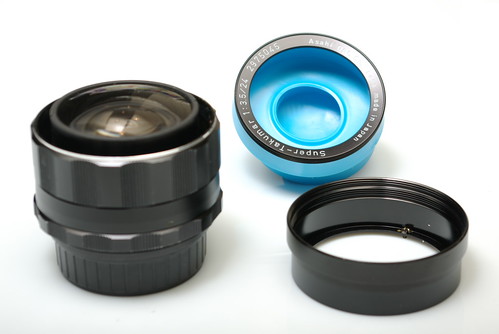
Note the focus position, the lens MUST BE focused on infinite ...
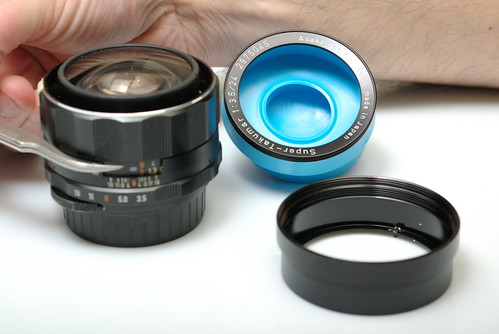
After unscrewing a little (no need to remove) the three screws that bind the focusing barrel to the lens, the barrel becomes loosen, so i slightly turned clockwise - Be careful: my lens needed this, but your may need turning counter-clockwise ... Now the focus mark is on the "3" index - but this is not a rule of thumb: the amount of shift may be different, since this when you do "try-and-adjust-again" ...
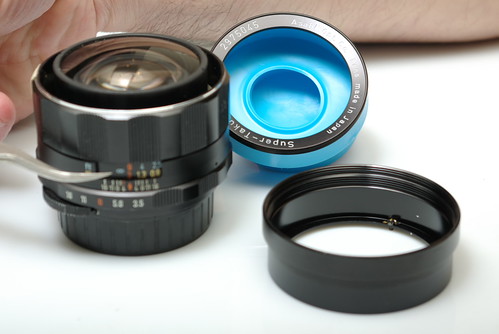
Now, the real fun: just screw in only one of the three screws, mount the lens on a camera, take some pictures, and check crops for infinite focus. If you don't get it, just unscrew a little the screw you fixed, turn the barrel again, and do another check ...
After 3 hours spent on finding the right turn angle to get infinite focus, the filter ring is screwed in back ... Note that the marks no longer match: it's normal, since the barrel has been turned ...
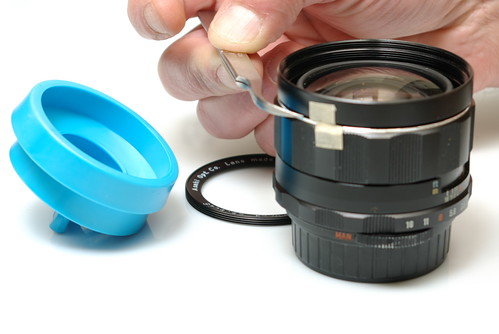
Surgery finished, rings mounted back, lens as new ...
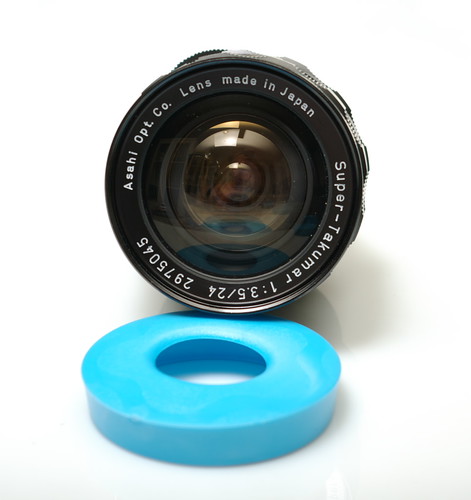
And the final result:

More shots with this great lens coming soon ...
All pictures taken with my K10D with kit 18-55 lens and a Metz 45 CL-4 Digital for lightning.
Note added the 12 October 2008: As kindly reported in the comments to this post, this technique works also with the Super Takumar 50/1.4. Moreover, i have been able to fix an SMC Takumar 50/1.4 this way, and another user from a manual lenses forum did the same with its Takumar 35/3.5.
Labels: Metz 45 CL-4, Pentax 18-55 AL, Pentax K10D, Repair, Super Takumar 24 f3.5
posted by IndianaDinos at 3:52 PM
33 Comments