Cleaning from fungus: Nikkor 50 f/1.4 ...
... whether Ai, NAi or Pre-Ai, i don't have any clue (sorry Nikon shooters) ...
Nevertheless, a really nice lens to let the evil fungus there ...
As usual, the standard foreword: it worked for me, it doesn't mean that it will work for you. In other words, whether you decide to repair your lens by yourself, or to let a pro do the job, it's up to you:
I have no responsibility if you destroy your lens.
Now, let's the game begin ...
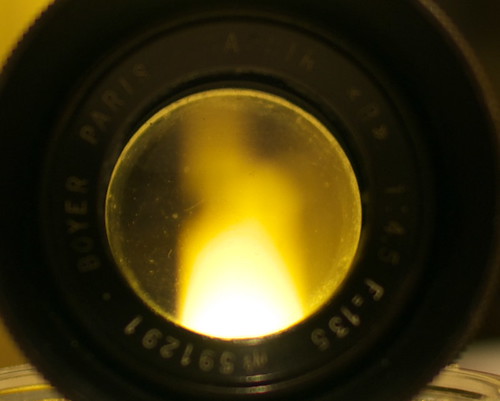
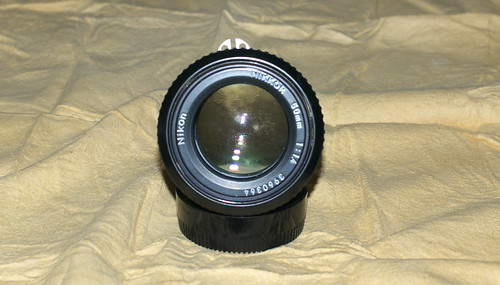
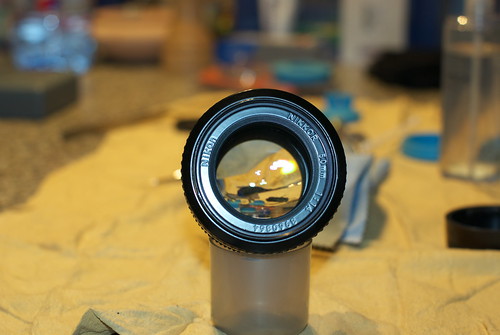
As you can see in the picture below, it is clearly infected by a fungus,
on the element rear the frontal one (we'll see that later) ...
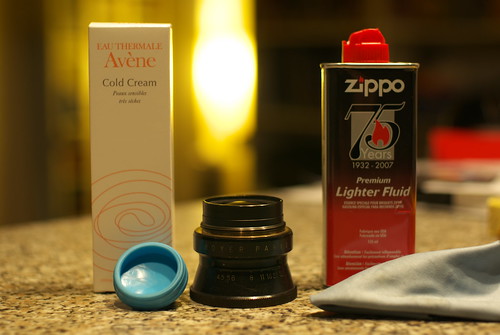
Having some spare time, i prepared the "shock team" for action:
A sink cap
A small screwdriver
A pro-grade spanner wrench (thanks again, Alex)
Some cold cream
Some Q-tips
Zippo fluid
Lens cleaning fluid
A micro-fiber cloth
Now, let's the game begin ...
Using the sink cap, unscrew the front name ring ...
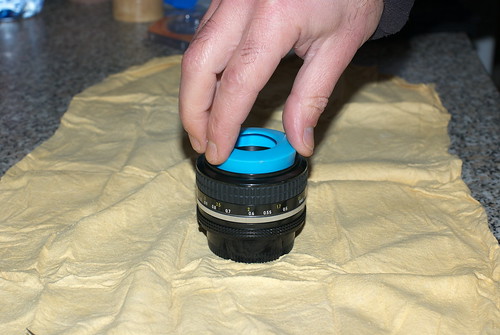
... and gently remove the front element.
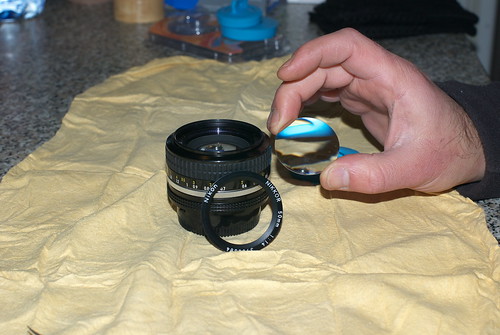
Now, remove the filter support by unscrewing the small screw shown below (you must focus the lens to its shortest distance to see it) ...
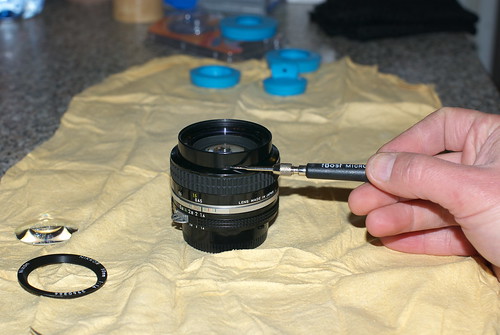
Once the screw removed, unscrew the filter support ring to remove it ...
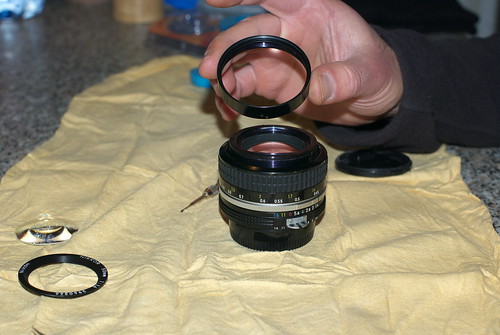
Now you will notice two notches for a spanner wrench.
DO NOT TRY TO UNSCREW THE RING RIGHT NOW!Using the spanner wrench, very very gently shake the cell ...
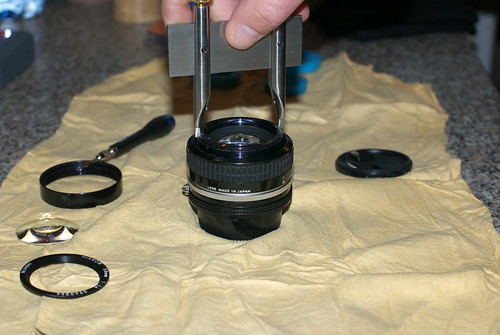
... then, simply slip off the optical cell (two fingers will suffice) ...
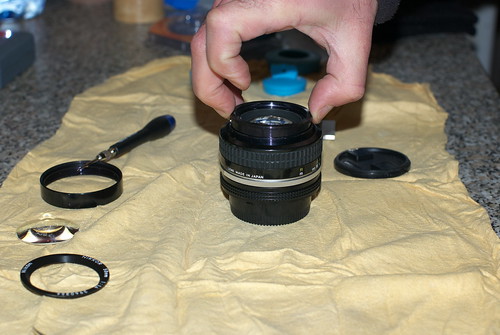
Once the cell removed, unscrew its front element using the spanner wrench ...
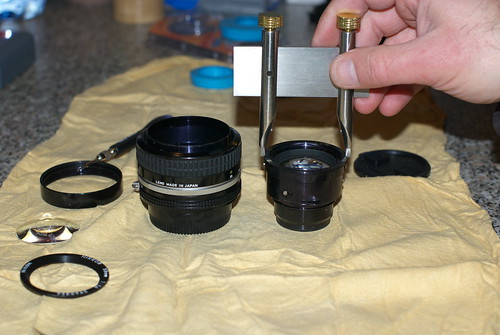
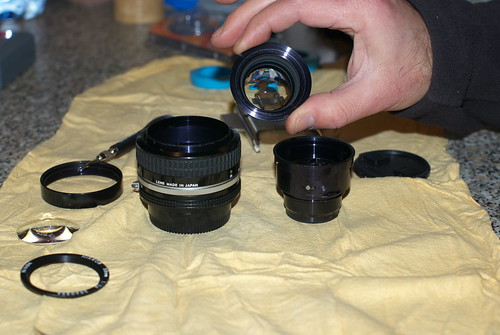
Notice the three spots of fungus molds on the lens ...
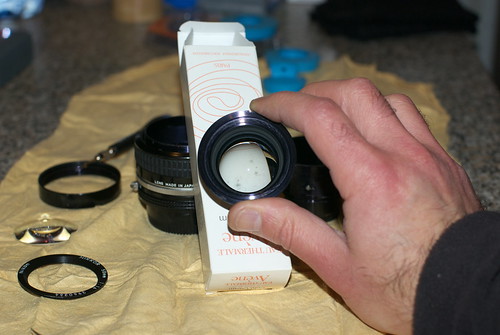
Now, time to fix this: apply some cold cream on the lens to remove the fungus ...
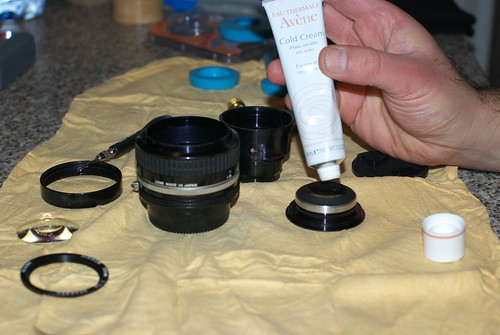
... spread it using a q-tip and let it dry.
In the meantime, take a look at the diaphragm blades, to be sure that they are clean: if you need to clean them, it would be quite easy now ...
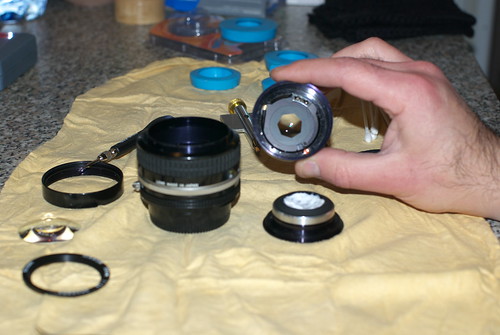
Let the cream destroy the molds during about an hour, then get the super cleaner (Zippo fluid) ...
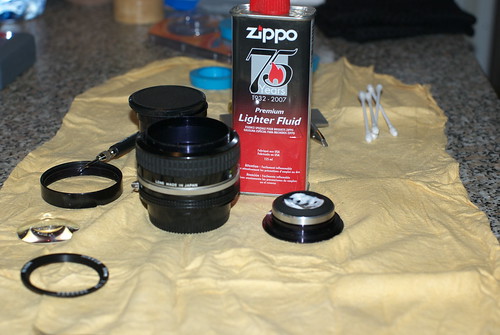
... drop a few fluid on several q-tips and remove the cream from the lens. Notice that the three spots are no longer there ...
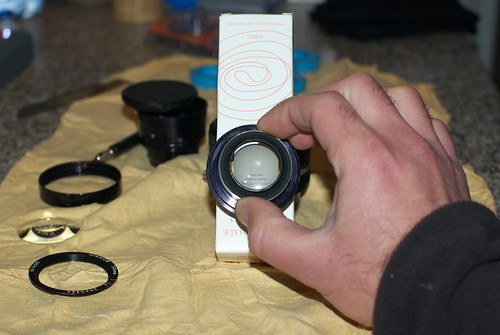
Using some optical cleaning fluid, remove the traces left by the Zippo fluid on the lens ...
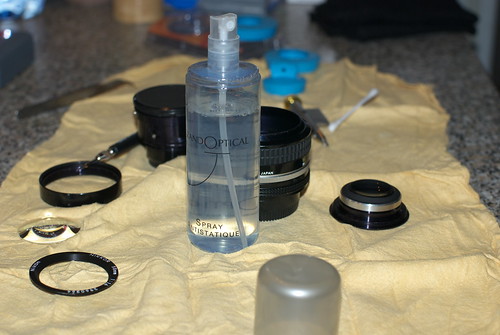
Notice that there is no more haze on the lens ...
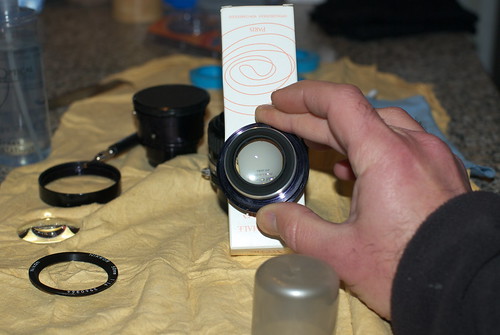
Time to rebuild the lens: screw in the front element in its cell ...
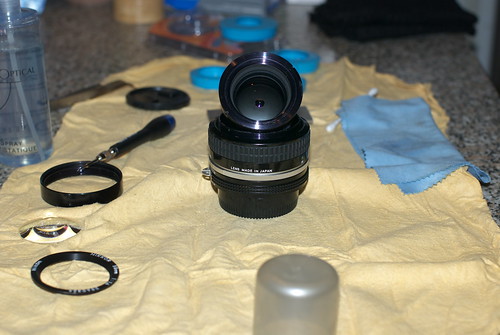
... gently slip in the cell in the focusing barrel (note the align screw on the side of the optical group) ...
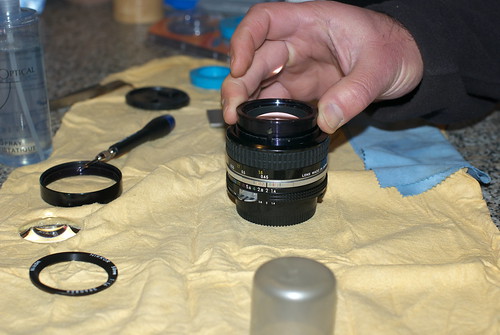
... until it completely fits in the barrel ...
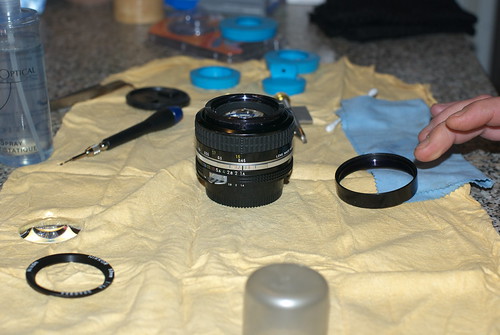
Finally, clean the front element and put it back on the lens, then screw in the front name ring. That's all ...
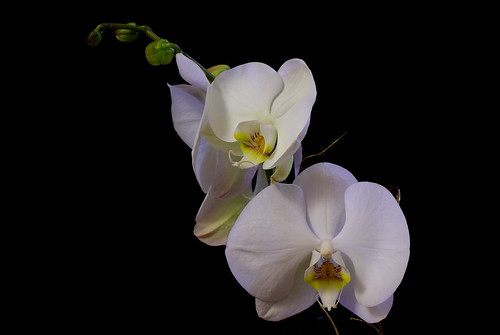
Now, some sample shots with the freshly cleaned lens:
At f/8:
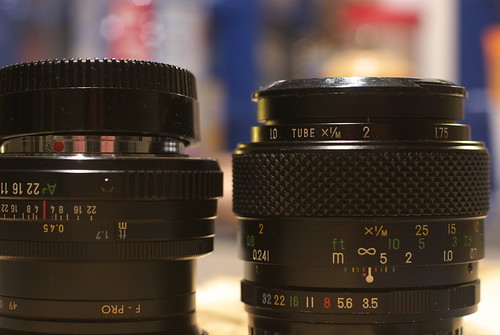
At f/4:
Feel free to browse to the whole Flickr set available here, there are some more pictures, and they have overlaying notes where required.
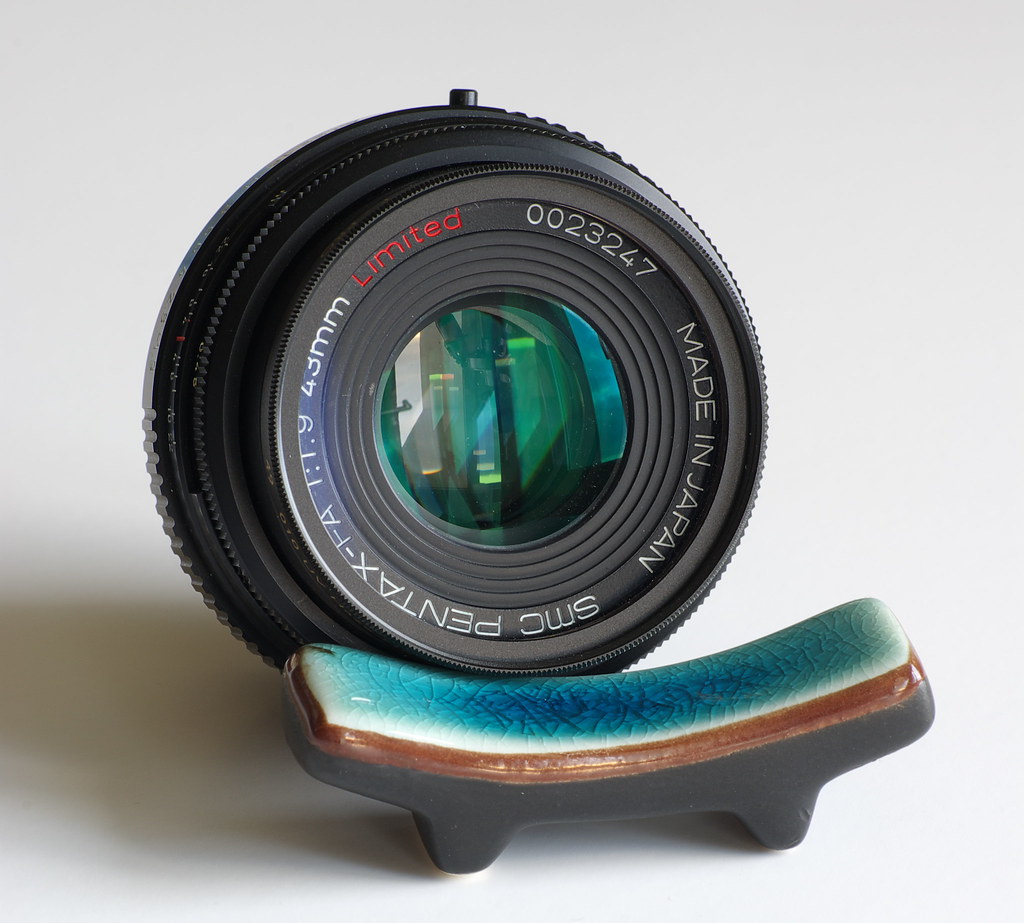
The Nikkor wishes to say thanks for its new sight to the whole surgery team, to Rick Oleson for his great site endless source of inspiration and help, to the MFlenses team (Alex and Attila) for supplying professional grade lens-repair tools at fair prices, and, of course, my K10D with its FA-43 Limited for the pictures ...
Now, time to go have some phun ;-) ...
Labels: FA-43 f1.9 Limited, Nikkor 50 f1.4, Pentax K10D, Repair
posted by IndianaDinos at 12:26 AM
19 Comments