Cleaning from fungus: SMC Takumar/6X7 150 2.8
Hi all,
My assignment for my second MF lens cleaning has been an SMC Takumar 150 f/2.8 for a Pentax 6x7, left to my care from one of my preferred sellers at the Toulouse monthly flea market. The lens is built according to the usual standards of the Takumar lenses, with a full-metal barrel, and is a huge piece of glass and metal.
Whereas the barrel shows signs of usage, the diaphragm is working fine and the glass is clear ... except for some fungal molds around the border of the front lens:

Thus, i was assigned by the owner of the lens to rescue the eye of his new camera, a nice Pentax 67 ... Now, before going on, the usual legalese disclaimer:
AS USUAL, I CANNOT BE HELD RESPONSIBLE IF YOU DESTROY YOUR LENS DOING WHAT I EXPLAIN HERE. IT WORKED FOR ME, IT DOESN'T MEAN THAT IT WILL WORK FOR YOU. THIS IS A VALUABLE LENS, THUS CONSIDER THE SERVICES OF A PROFESSIONAL REPAIRMAN BEFORE TRYING TO FIX IT ...
What you will need to proceed:
- A sink cap, to remove the front name ring.
- A precision Phillips screwdriver (mine is made by iBost). Avoid cheap ones.
- A spanner wrench (got mine from MFLenses). Here too, avoid cheap ones (less than 50€).
- Cold cream. I use Avene's one, but simply because it is really cheap in France. Ask to your beauty-shop what they have available.
- Zippo fluid or isopropyl alcohol or something similar, to remove the cold cream from the lens.
- Optical cleaning fluid for the final cleaning of the lens.
- A microfiber cloth, to clean the lens.
- Some adhesive tape.
- Surgical gloves, to avoid leaving your fingerprints on the lenses.
- A clean workplace and ... some patience ;-) ...
Now, let's start the game ;-) ...
Here the only affected lens is the front one, so start by removing the front name ring, with the help of a sink cap (or another proper tool):

Careful here: despite what has been done on other lenses, the front ring is not screwed on the filters thread, but it is screwed on an inner thread. Thus be careful to not engage the outer border of the name ring in the filters thread, otherwise the ring may get stuck (as happened to me). If this happens, gently screw in a bit the ring until it gets disengaged, then restart unscrewing it again, using only two fingers at 180° on the front ring.
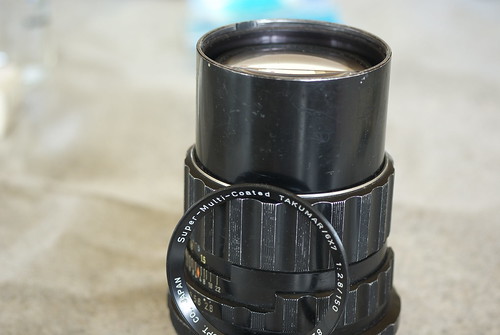
Removing the name ring exposes four Phillips screws, spread every 90° between the front cell and the outer barrel:
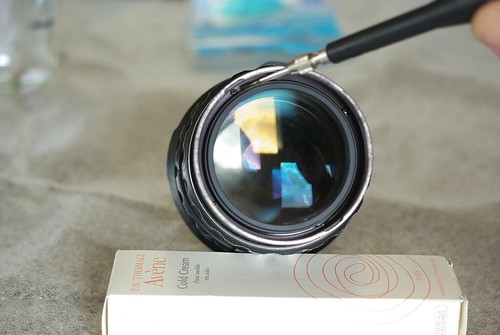
These screws keep the barrel in place. Removing them is not really required but, to keep the intervention easy, i preferred to remove them to remove the outer barrel.
So, before removing the screws focus the lens at its shortest distance and stick some adhesive tape on both the barrel and the focusing ring, to be used as a position marker for later use:
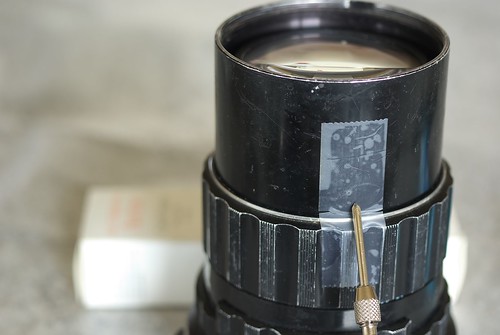
Then, remove the four screws and slip out the outer barrel from the lens:

Now, the whole front cell is exposed and may be removed from the lens.
Looking at the cell body, you can notice two notches for a spanner wrench so get one and unscrew the front cell from the lens (you can check the pictures on my Flickr photostream, they have explicative notes on them):

To remove the front element from the cell, unscrew the front retaining ring and then, when you remove the lens you can ear a light suction sound: the manufacturing tolerances are really strict ...

Here is the lens evil incarnation, a fungal infection across the whole border of the lens:

As usual, my preferred lens cleaner, Avene's Cold Cream, now comes to rescue. Using a q-tip spread some cold cream on both surfaces of the lens and then wait about an hour for drying ...
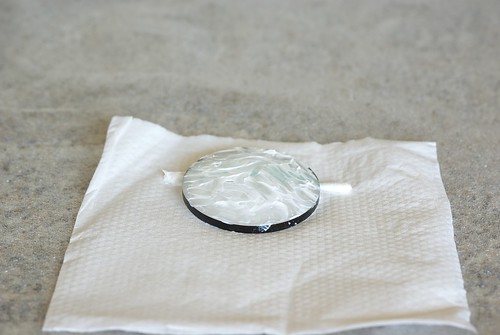
After about an hour (i spent mine playing an online shoot-them-up game ;-) ) remove the dried cream with some 90° alcohol or Zippo fluid (both works great, the choice is up to what you have available):
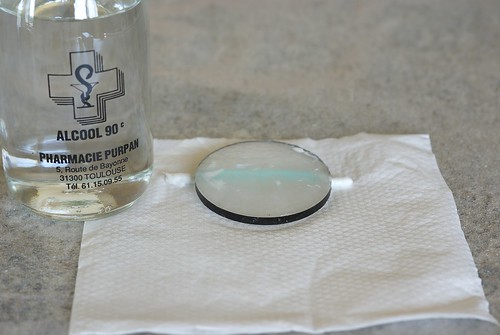
Once cleaned with the alcohol and some optical fluid, the freshly cleaned lens may be mounted again on the cell. Here it is:

Now, screw in back the front cell on the lens barrel:

The outer barrel simply slips in. Verify that the lens is still focused at its shortest focusing distance and use the adhesive tape check-mark to verify the alignment of the barrel and the lens body (to be sure that the screws holes and threads on the lens body are properly aligned):

Last, screw in the four screws (a magnetized screwdriver is really helpful here) and put back the front name ring. The lens is now ready for its next assignment:

The full resolution annotated pictures are available in this set from my Flickr photostream.
Hoping that this post can be of help to someone other, your comments are always very welcome ...
Labels: Pentax K10D, Repair


