Cleaning from fungus: Canon FD 55 f/1.2 SSC
After a little absence because of my new sport activity, i'm back with a new cleaning tutorial. The patient awaiting for disinfection and cleaning is a nice Canon 55mm f/1.2 SSC, in FD mount.
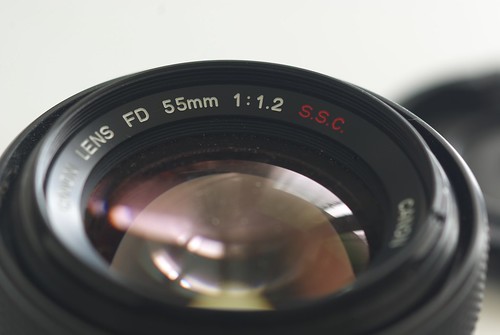
Although i neglected to take a picture of the infection, the fungus has spread around the inner border of the front element (at least). The molds are quite light, the infection is just at the beginning, so, let's start with the cleaning sequence ...
But, before going on, the classic legalese disclaimer:
AS USUAL, I CANNOT BE HELD RESPONSIBLE IF YOU DESTROY YOUR LENS DOING WHAT I EXPLAIN HERE. IT WORKED FOR ME, IT DOESN'T MEAN THAT IT WILL WORK FOR YOU. THIS IS A VALUABLE LENS, THUS CONSIDER THE SERVICES OF A PROFESSIONAL REPAIRMAN BEFORE TRYING TO FIX IT ...
What you will need to clean the infection:
- A sink cap, to remove the front name ring.
- A spanner wrench (got mine from MFLenses). You can get yours wherever you want, but avoid cheap ones (less than 50€).
- Some q-tips (the brand doesn't matter).
- Cold cream. I use Avene's one, but simply because it is really cheap in France. Ask to your beauty-shop (or to your wife) what they have available.
- Zippo fluid or isopropyl alcohol or something similar, to remove the cold cream from the lens.
- Optical cleaning fluid for the final cleaning of the lens.
- A microfiber cloth, to clean the lens.
- A clean workplace and ... some patience ;-) ...
Now, let the game begin ;-) ...
Start by focusing the lens at the infinity and set the diaphragm ring at full aperture. Then, put your lens on a fiber cloth, it will help to avoid thingies rebounding (you never know). Finally, using the sink cap, unscrew the front name ring.
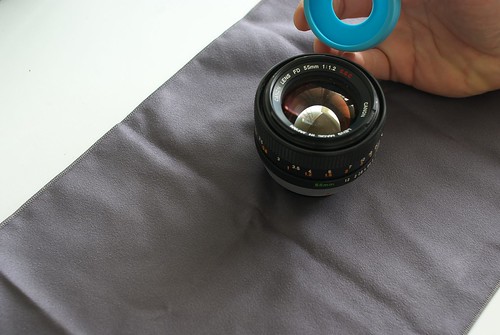
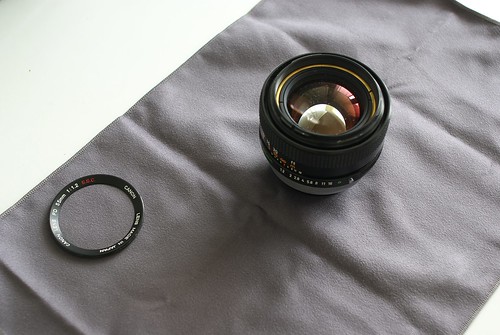
Once the name ring is unscrewed, notice the three rings that will show up:
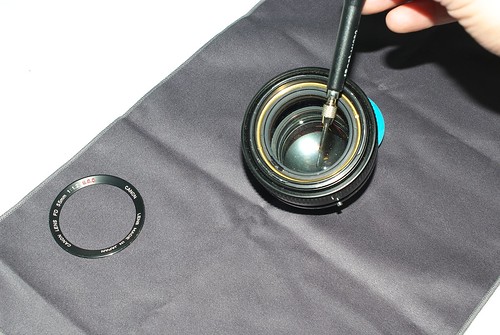
Let's start by removing the inner one (pointed out by the screwdriver in the picture above), since is the one that holds in place the front element. Trim the spanner wrench to the right width and carefully unscrew the inner ring:
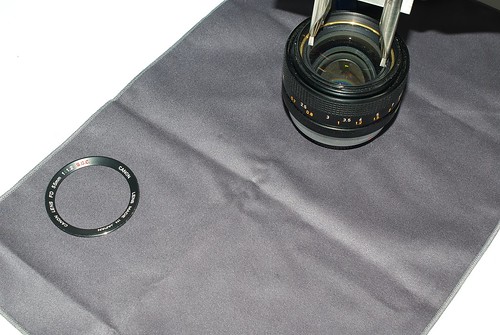
Once the inner ring is unscrewed, carefully remove the front element from the lens and prepare the cold cream.
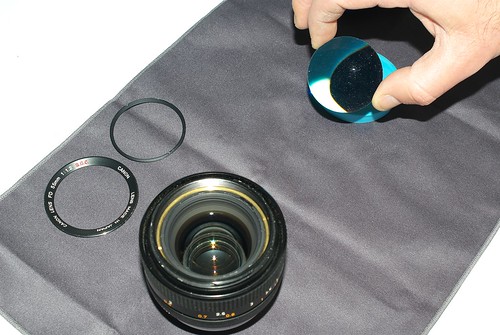
Using a q-tip, spread the cold cream on both sides of the lens and let it dry until the cream becomes translucent (about an hour).
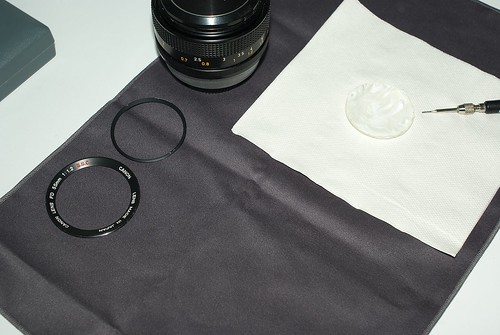
After a thorough inspection, i noticed some fungus molds on the next element (in fact, a doublet cell), so i unscrewed the cell (inner ring) and the retaining ring of the filter thread/hood holder (outer brass ring).

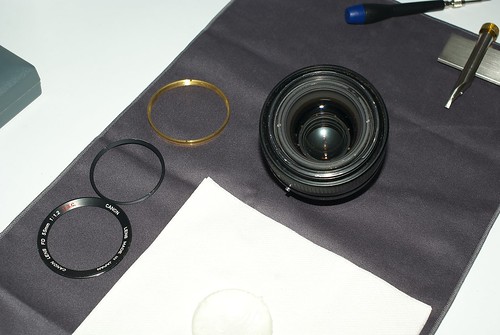
The optical cell has been removed from the lens barrel. If you are in need to clean the diaphragm blades too, this would be the right time. Luckily (for me), they are clean and snappy ...
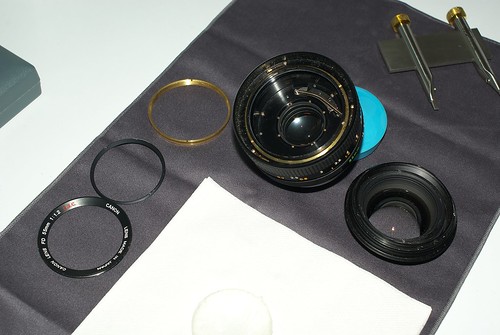
The optical cell is held in place by a retaining ring on the rear of the optical group. Unscrew it, being careful to the small spacer inside (the white ring on the picture below.
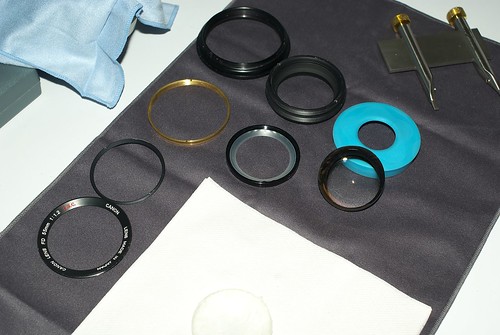
Using another q-tip, spread the cold cream on both faces of the doublet and let it dry as for the front element.
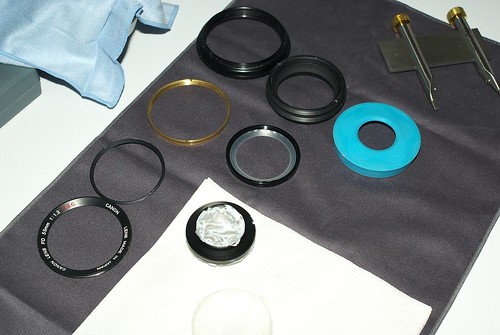
Once the cold cream has dried, remove it using either some Zippo fluid or some isopropyl alcohol, then finish cleaning the lenses using your preferred optical fluid.
To rebuild the lens, just follow the steps above in reverse order and you are done ;-) ...
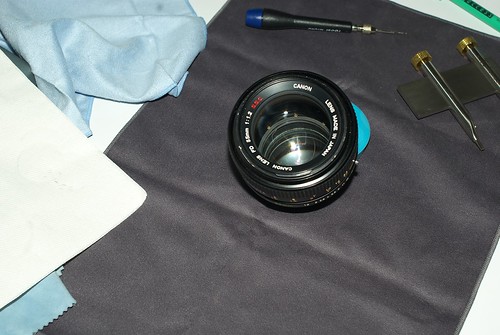
This fine lens is ready for its next assignment :-) ...
And no, before you ask, it's not mine and i don't have an FD camera to play with it, thus no sample pictures taken with it ...
Hoping that this will be useful to someone ...
Labels: Pentax K10D, Repair


